Set up in under a minute
The first time you open Spencio, a short guided walkthrough gets you oriented — sign-in is optional, and nothing you set up here is locked in.
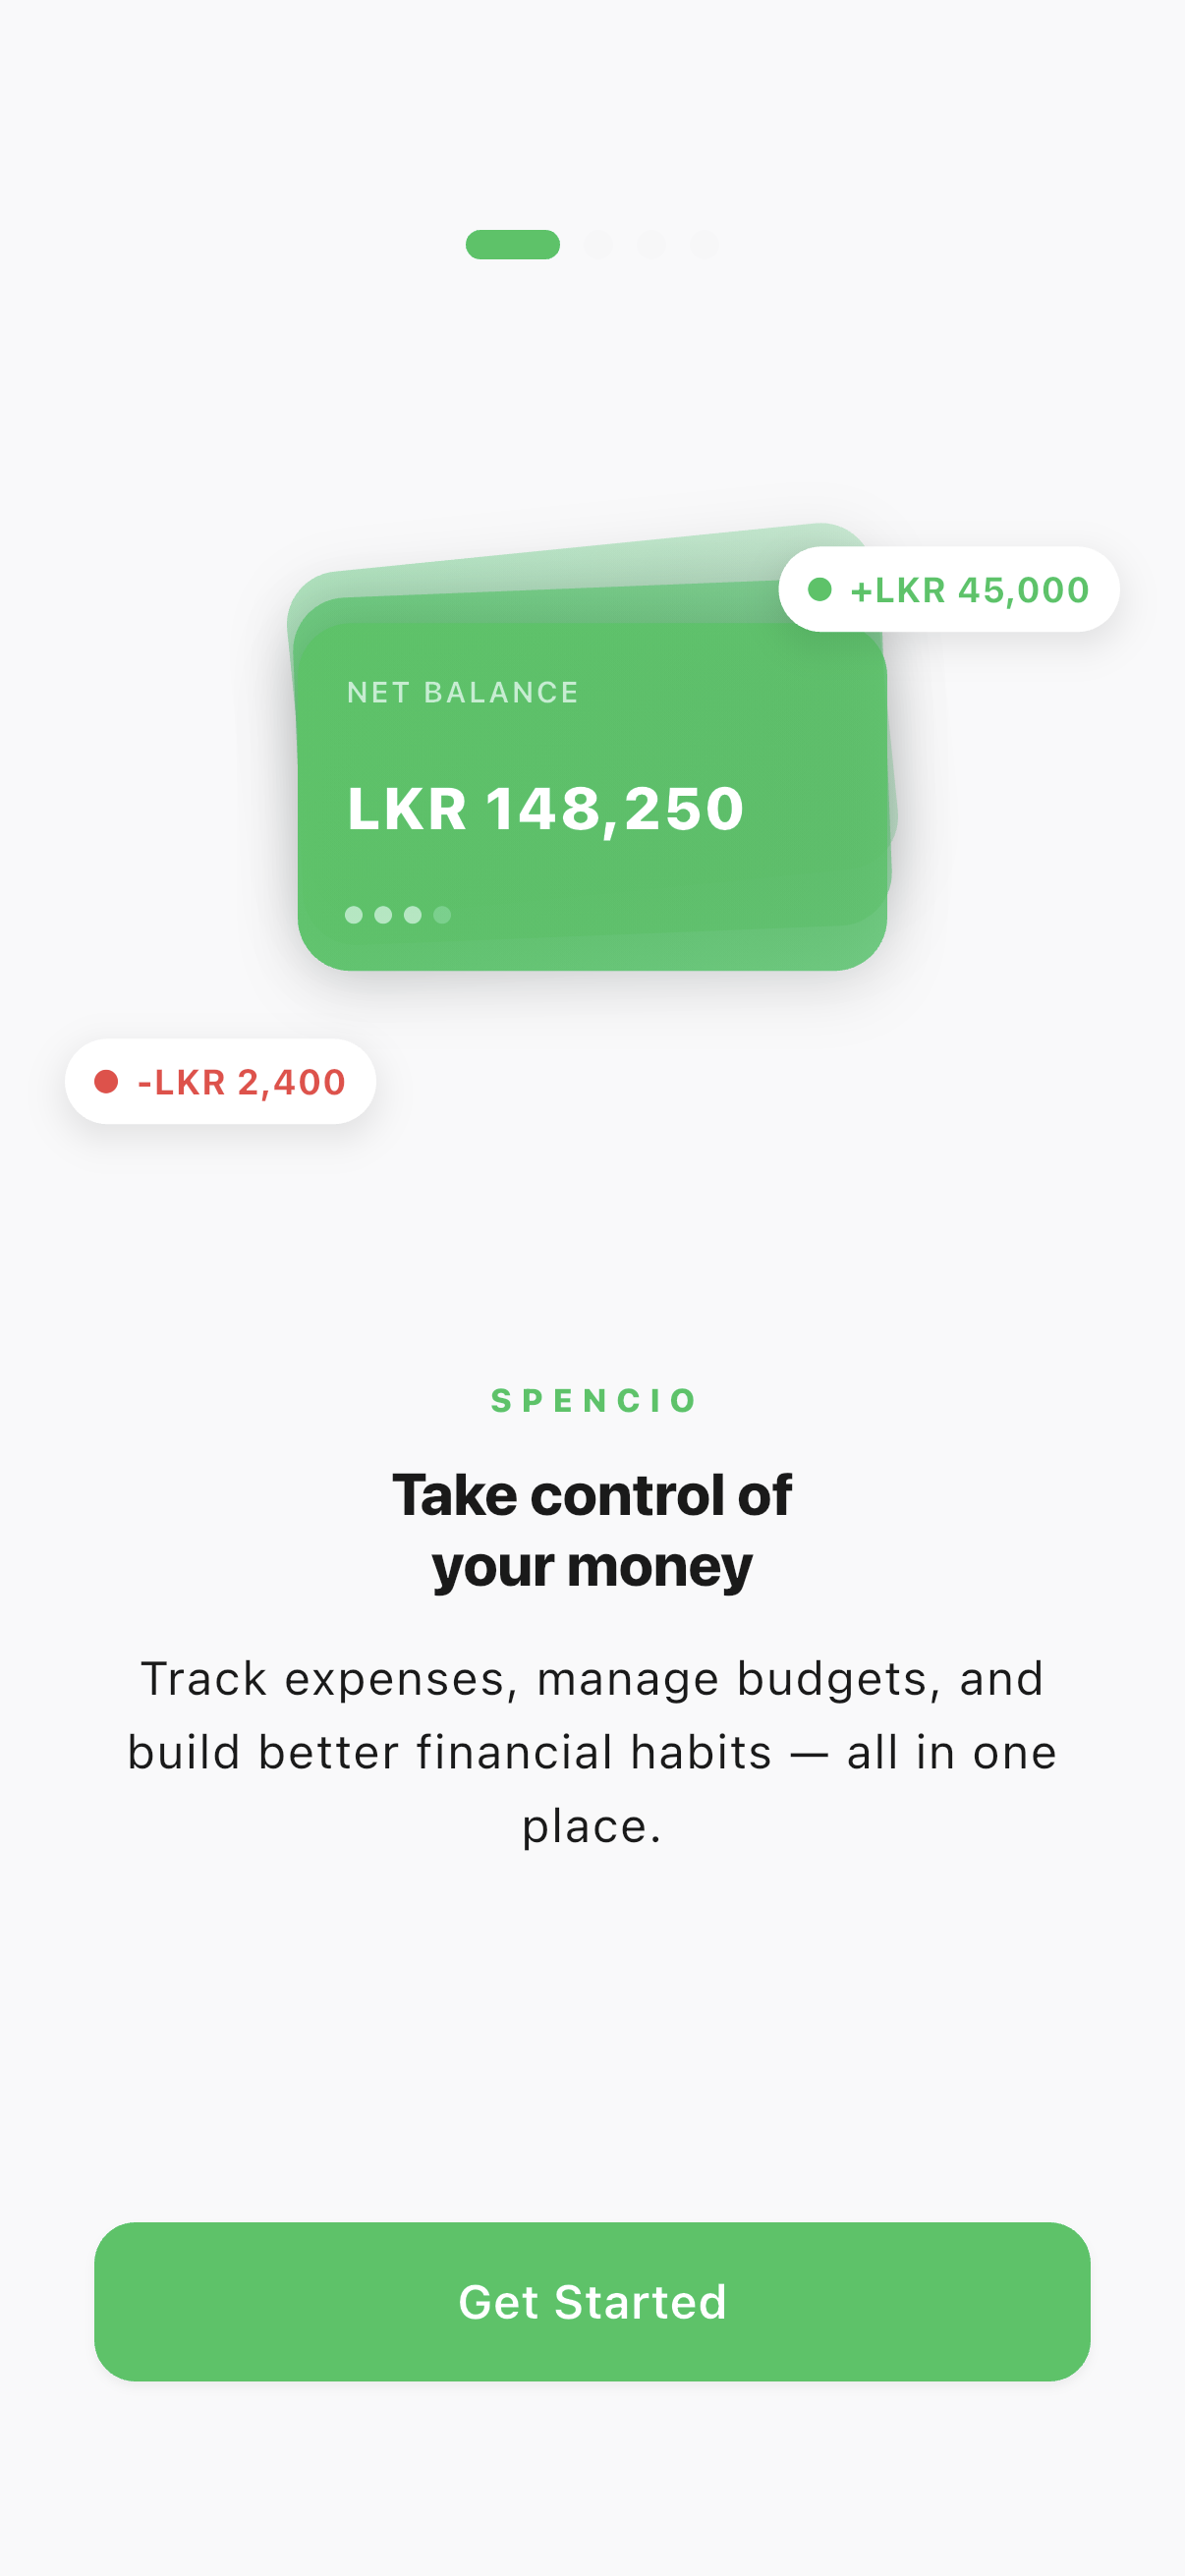
Welcome to Spencio
A short, five-step walkthrough gets you from install to your first logged transaction.
- 1Tap "Get Started" on the welcome screen to begin.
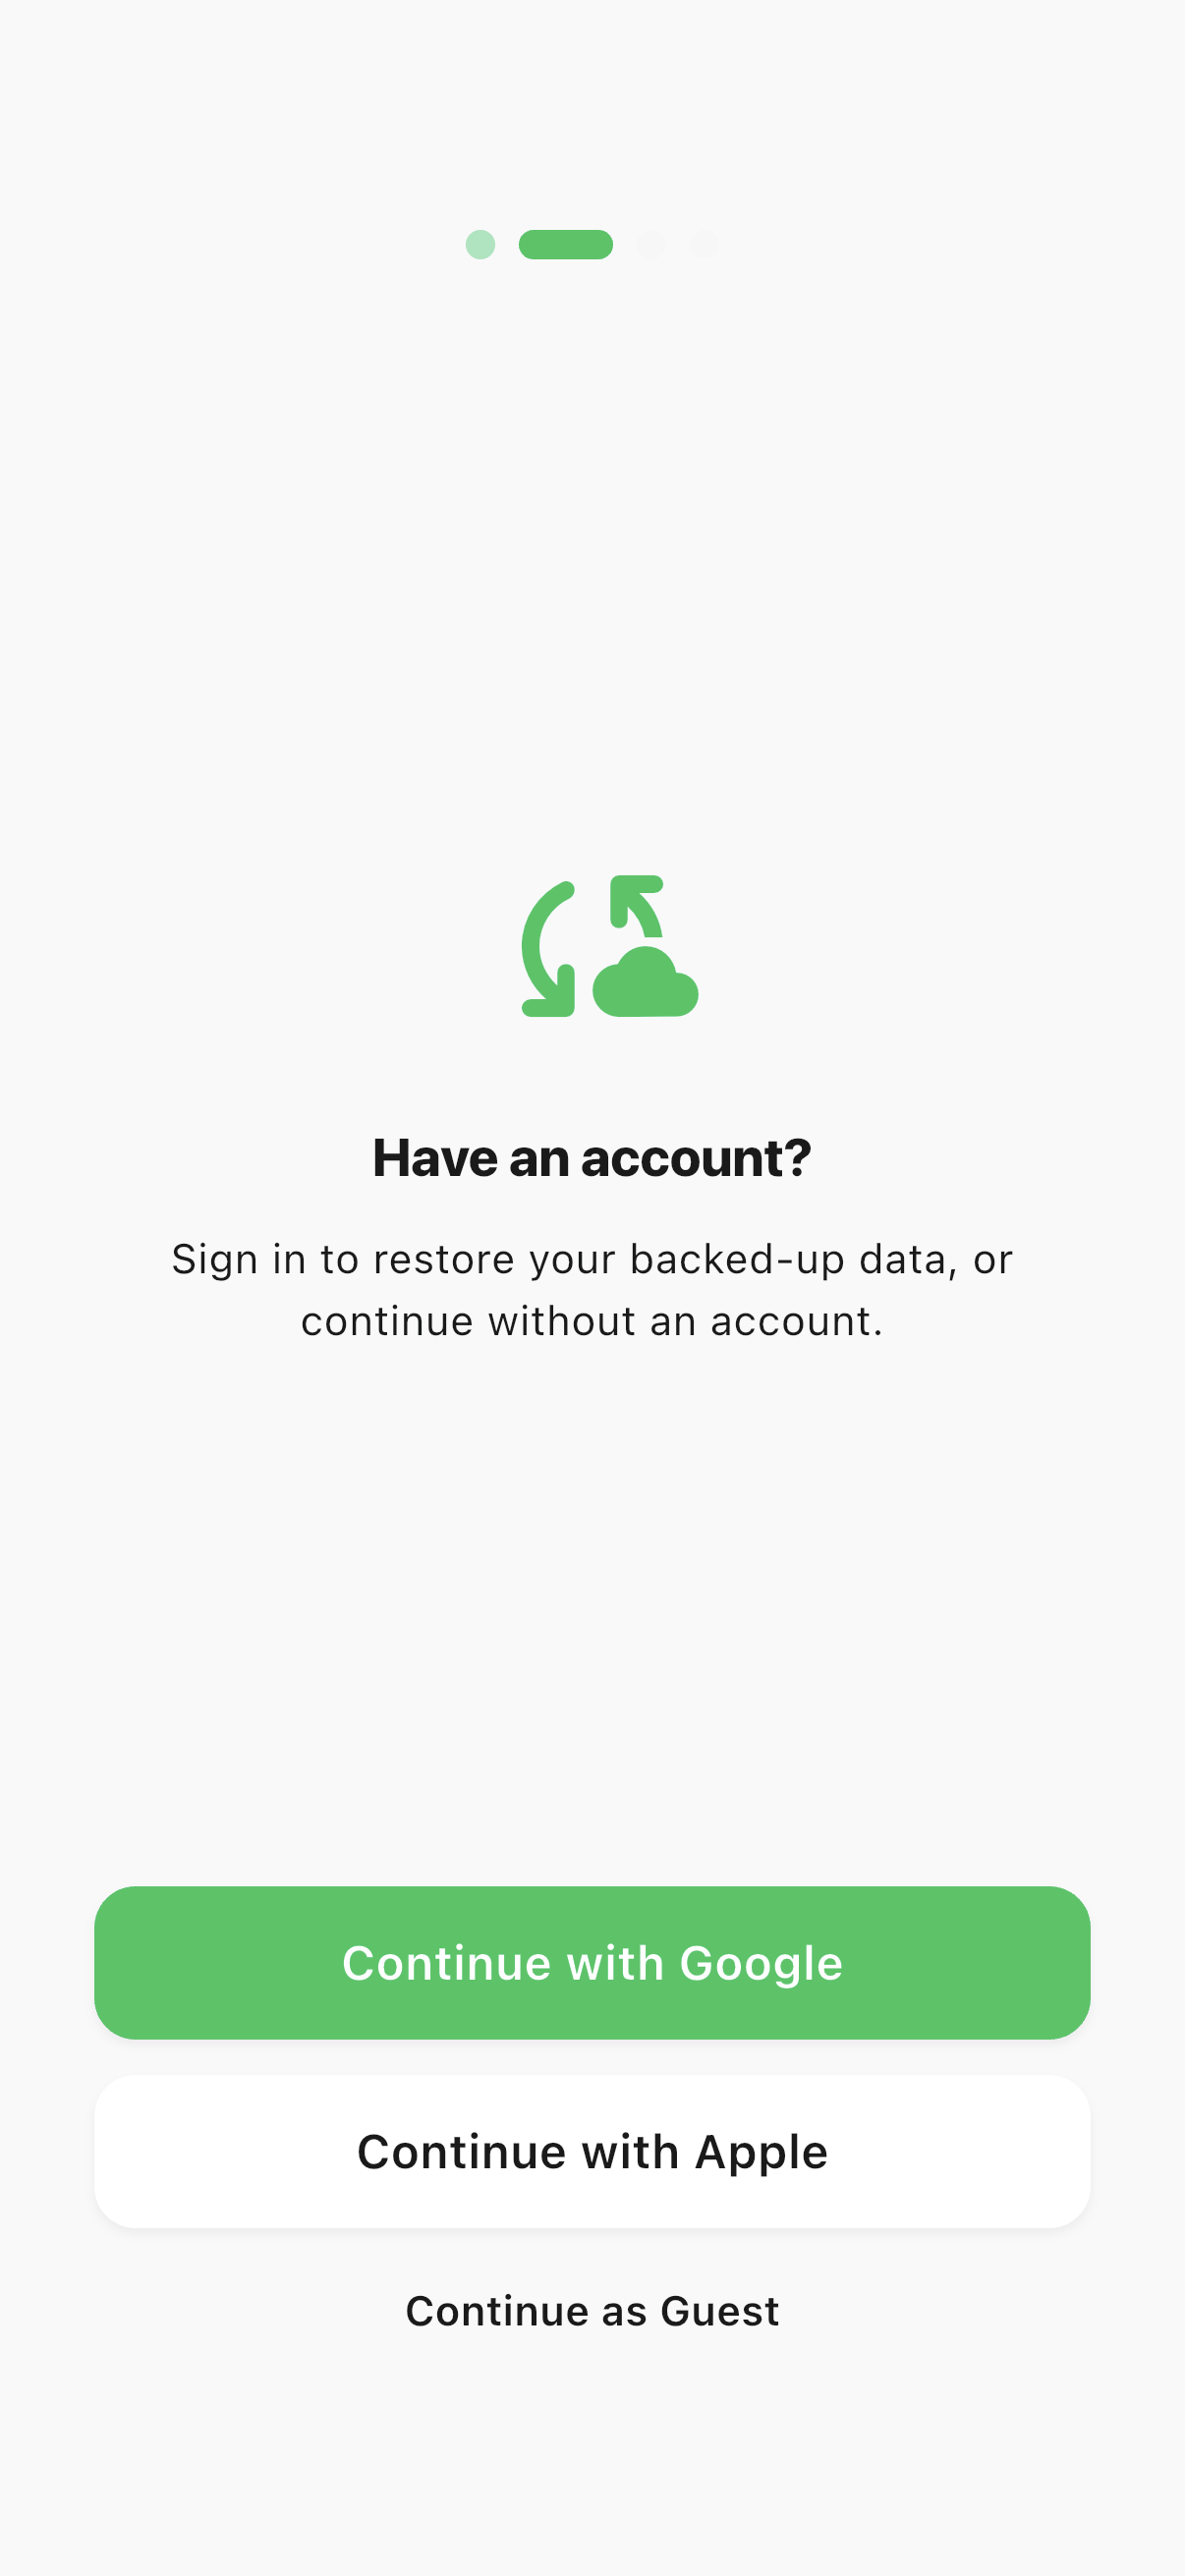
Sign in, or skip it entirely
Spencio works fully offline from the first launch — signing in only matters if you want your data backed up and restorable on another device.
- 1Tap "Continue with Google" or "Continue with Apple" to enable cloud backup & restore.
- 2Or tap "Continue as Guest" to skip sign-in and use Spencio fully offline — you can sign in later from Settings.
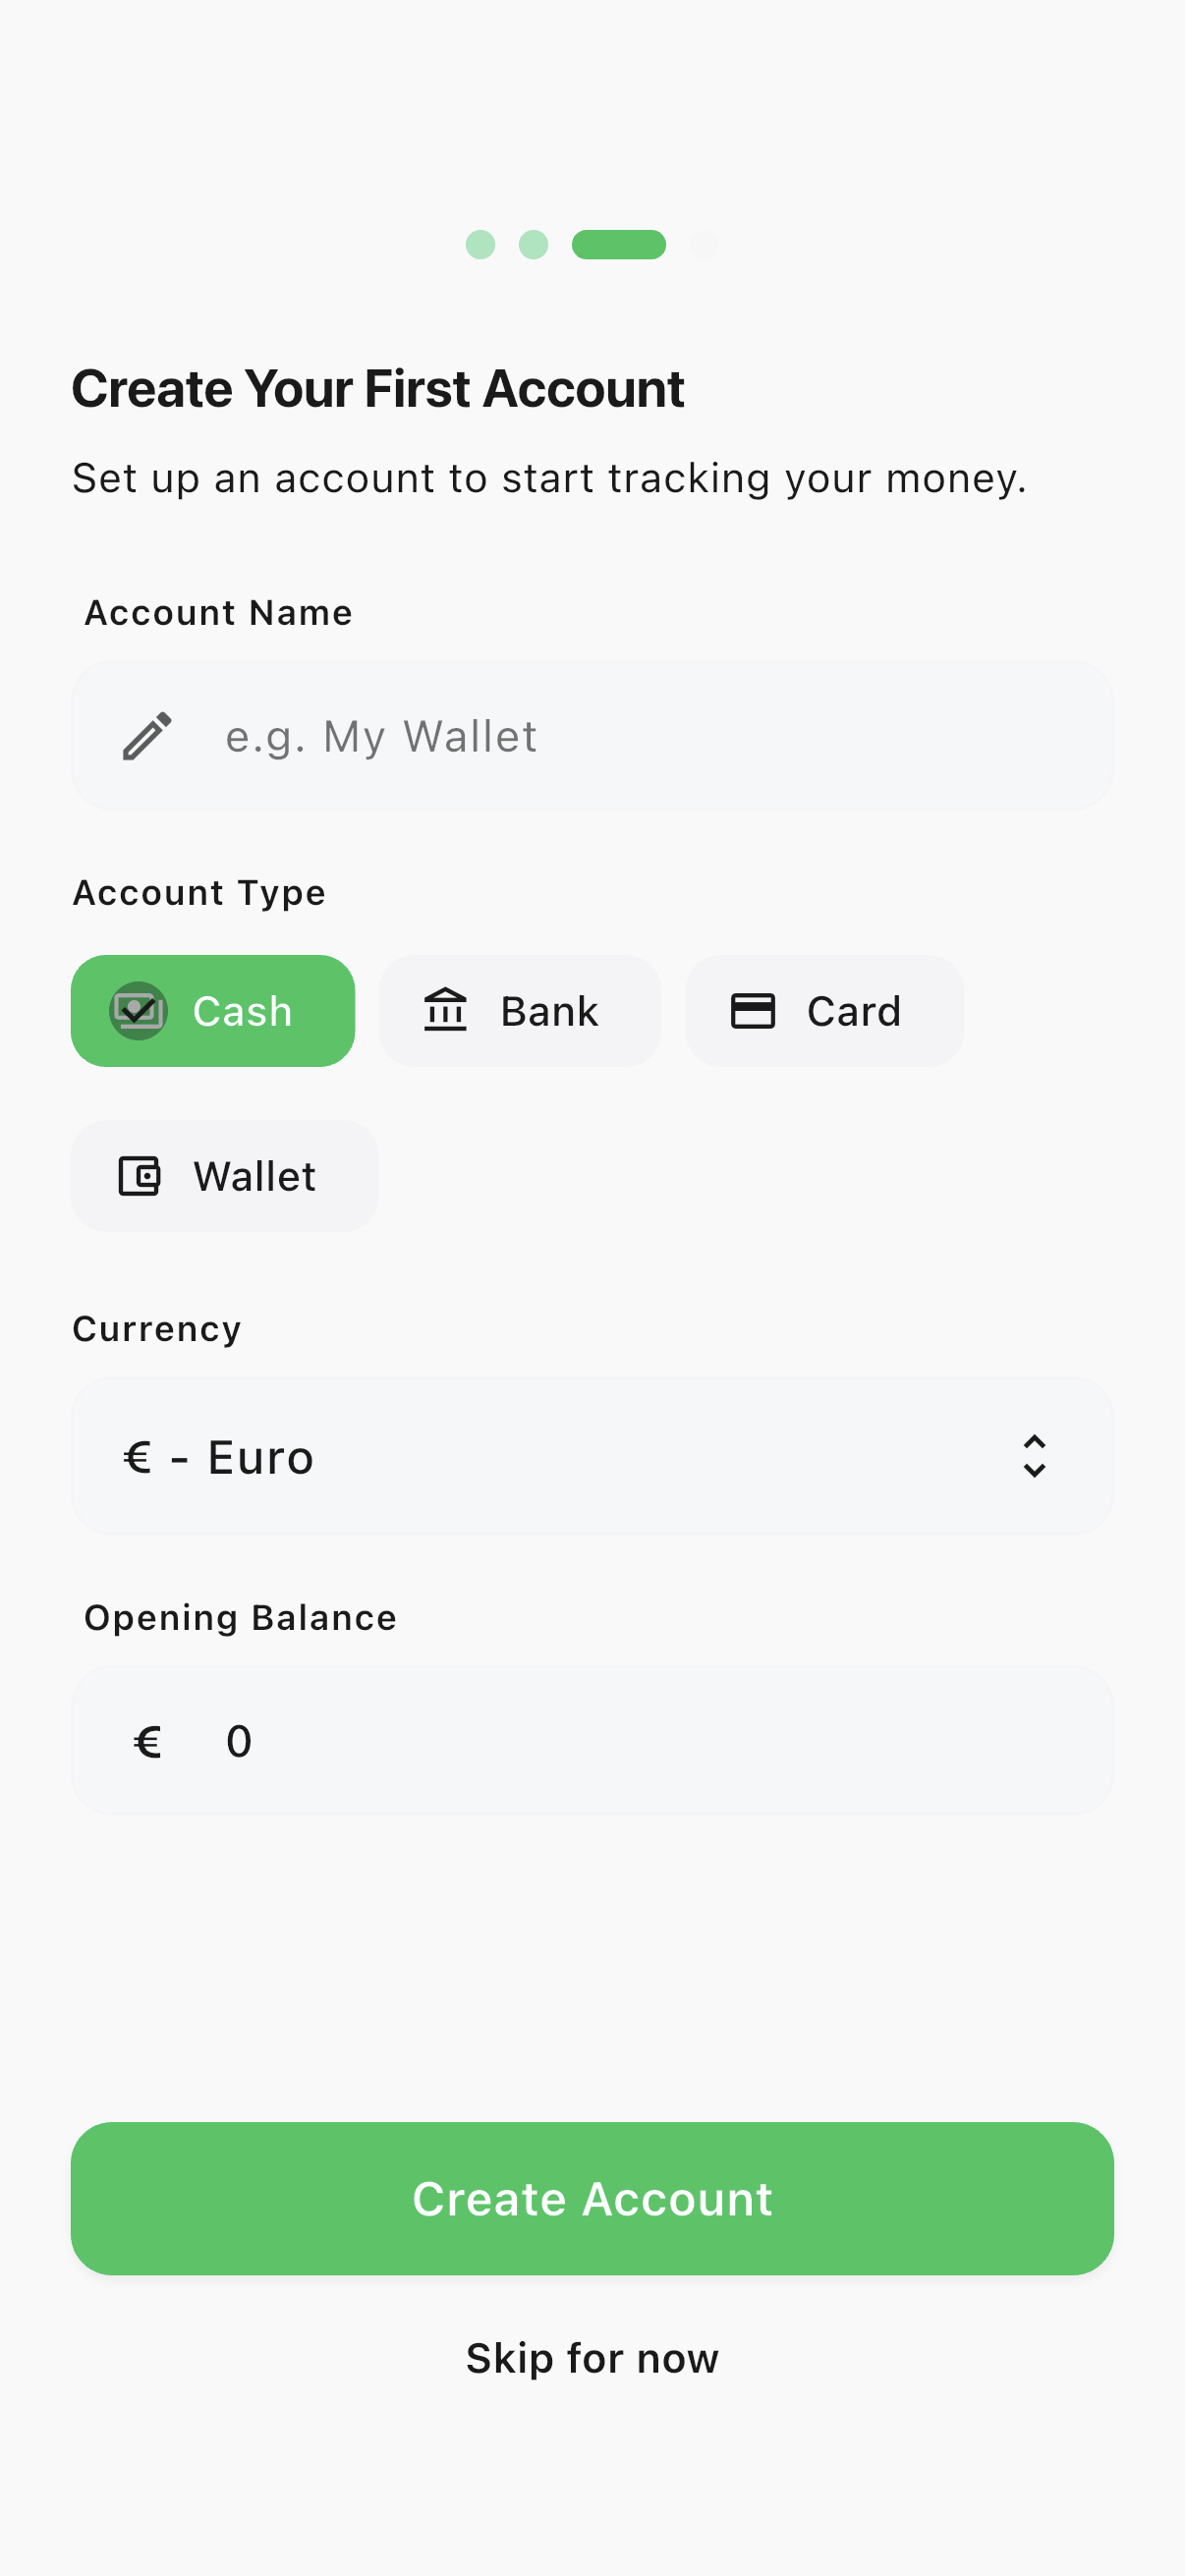
Add your first account — or skip it
Give Spencio a starting balance to track against, or explore the app first and add accounts later.
- 1Give the account a name, pick a type (Cash, Bank, Card, Wallet, Loan, Investment or Asset), and enter its opening balance.
- 2Tap "Skip for now" to come back to this later from the Accounts tab.
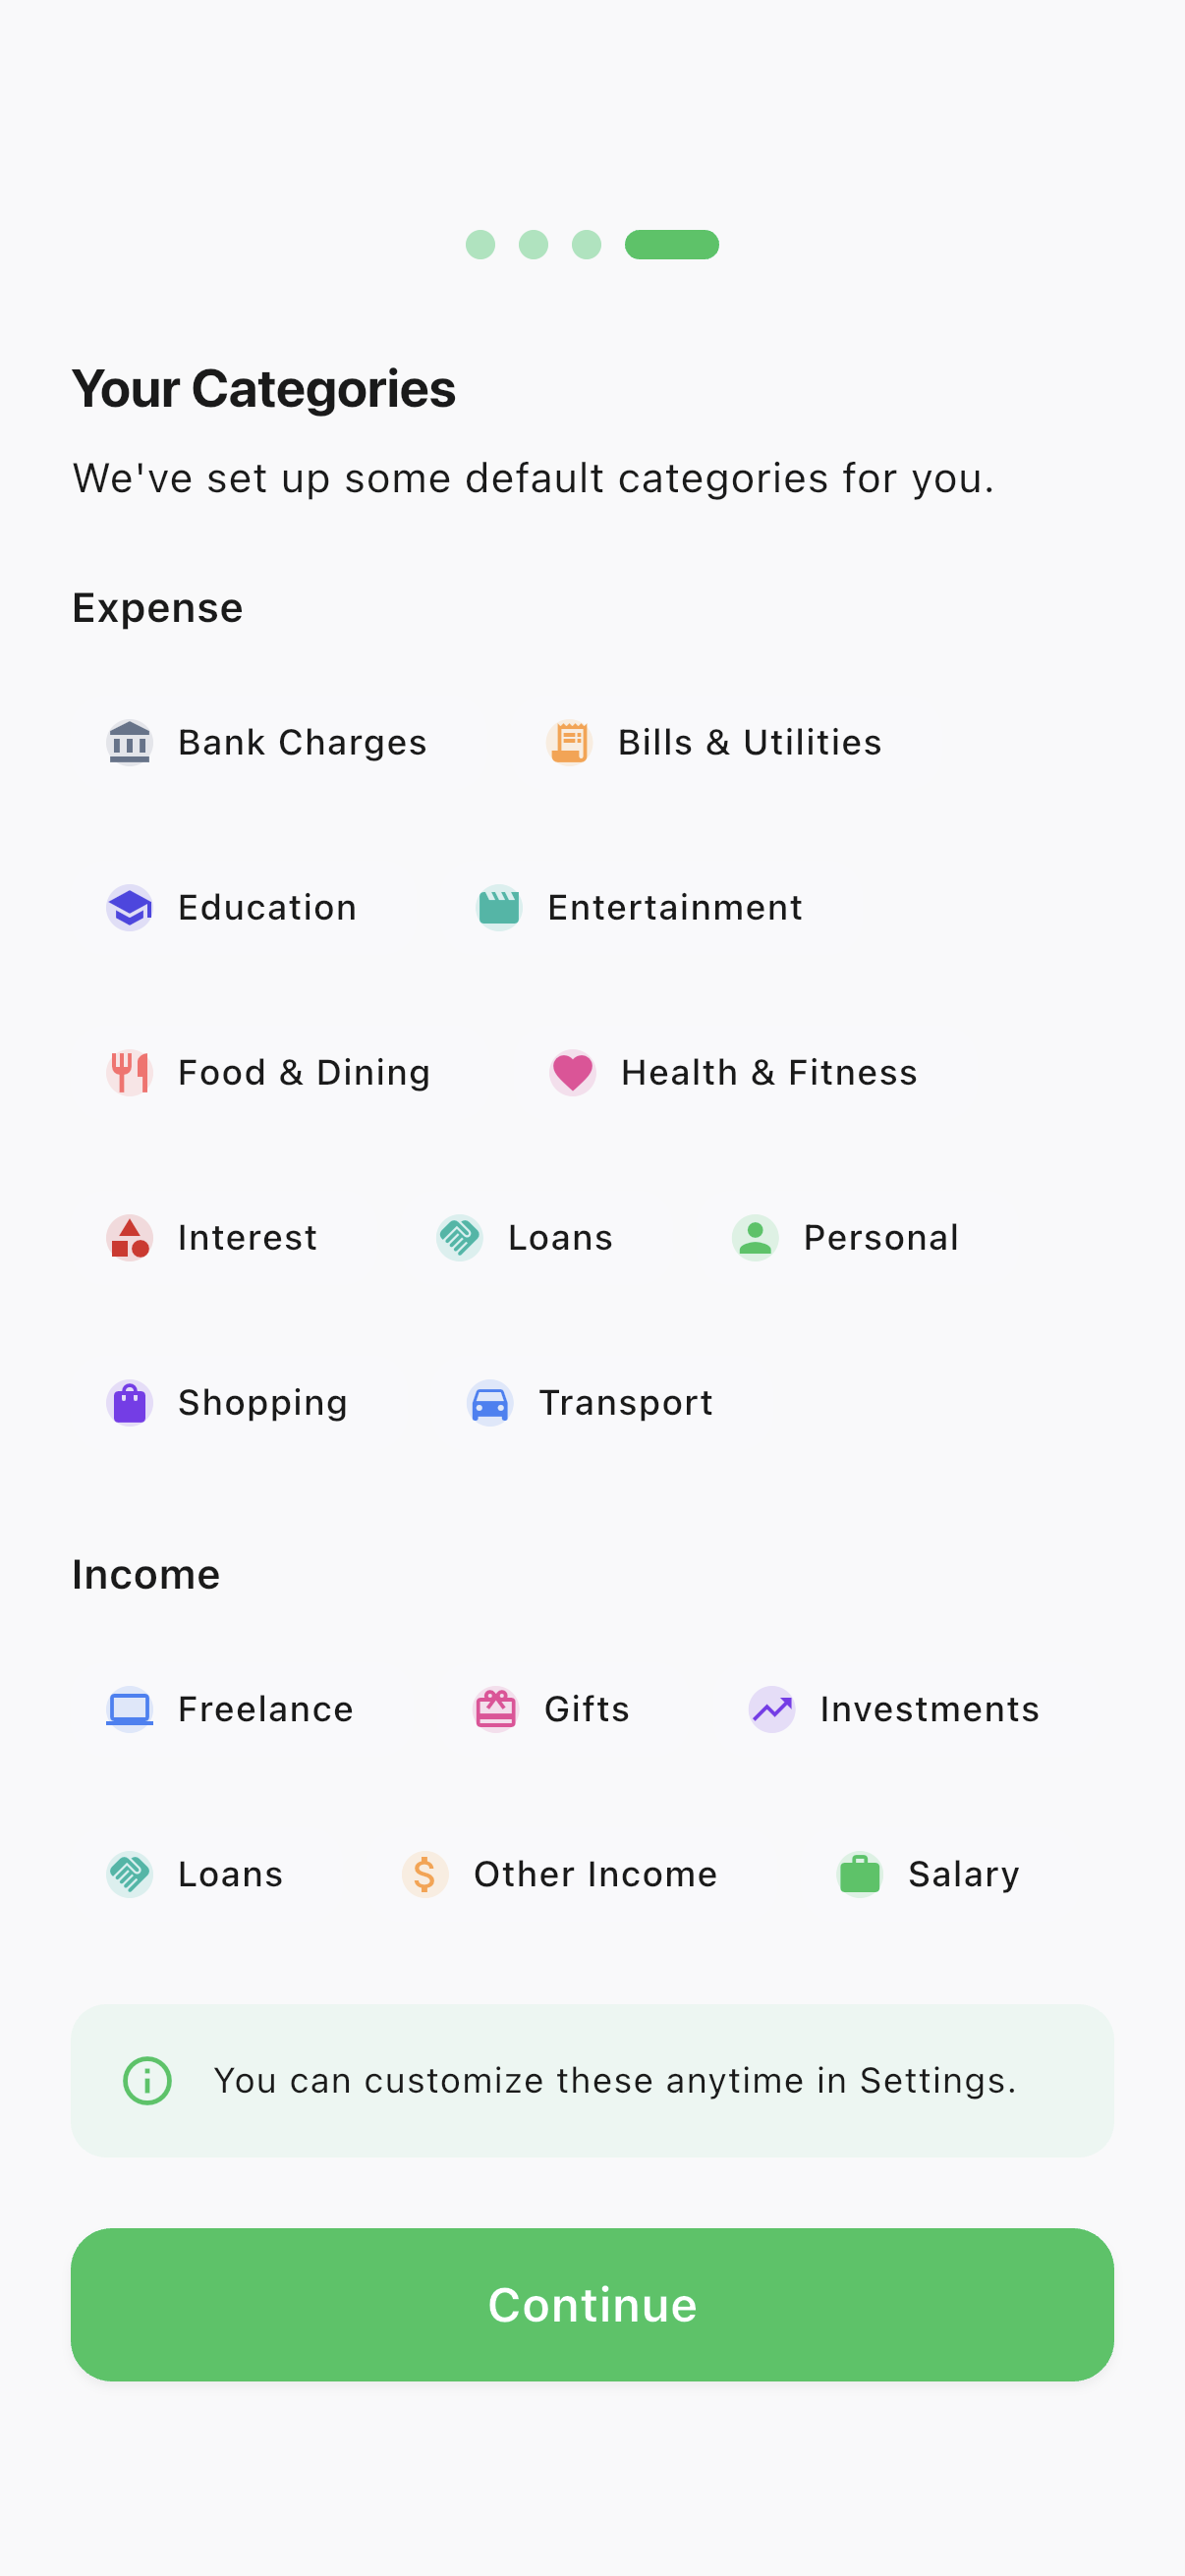
Default categories, ready to use
Spencio sets up a full set of common expense and income categories so you can start logging immediately.
- 1Review the categories, then tap "Continue" — you can rename, recolor, or add your own anytime from the menu.
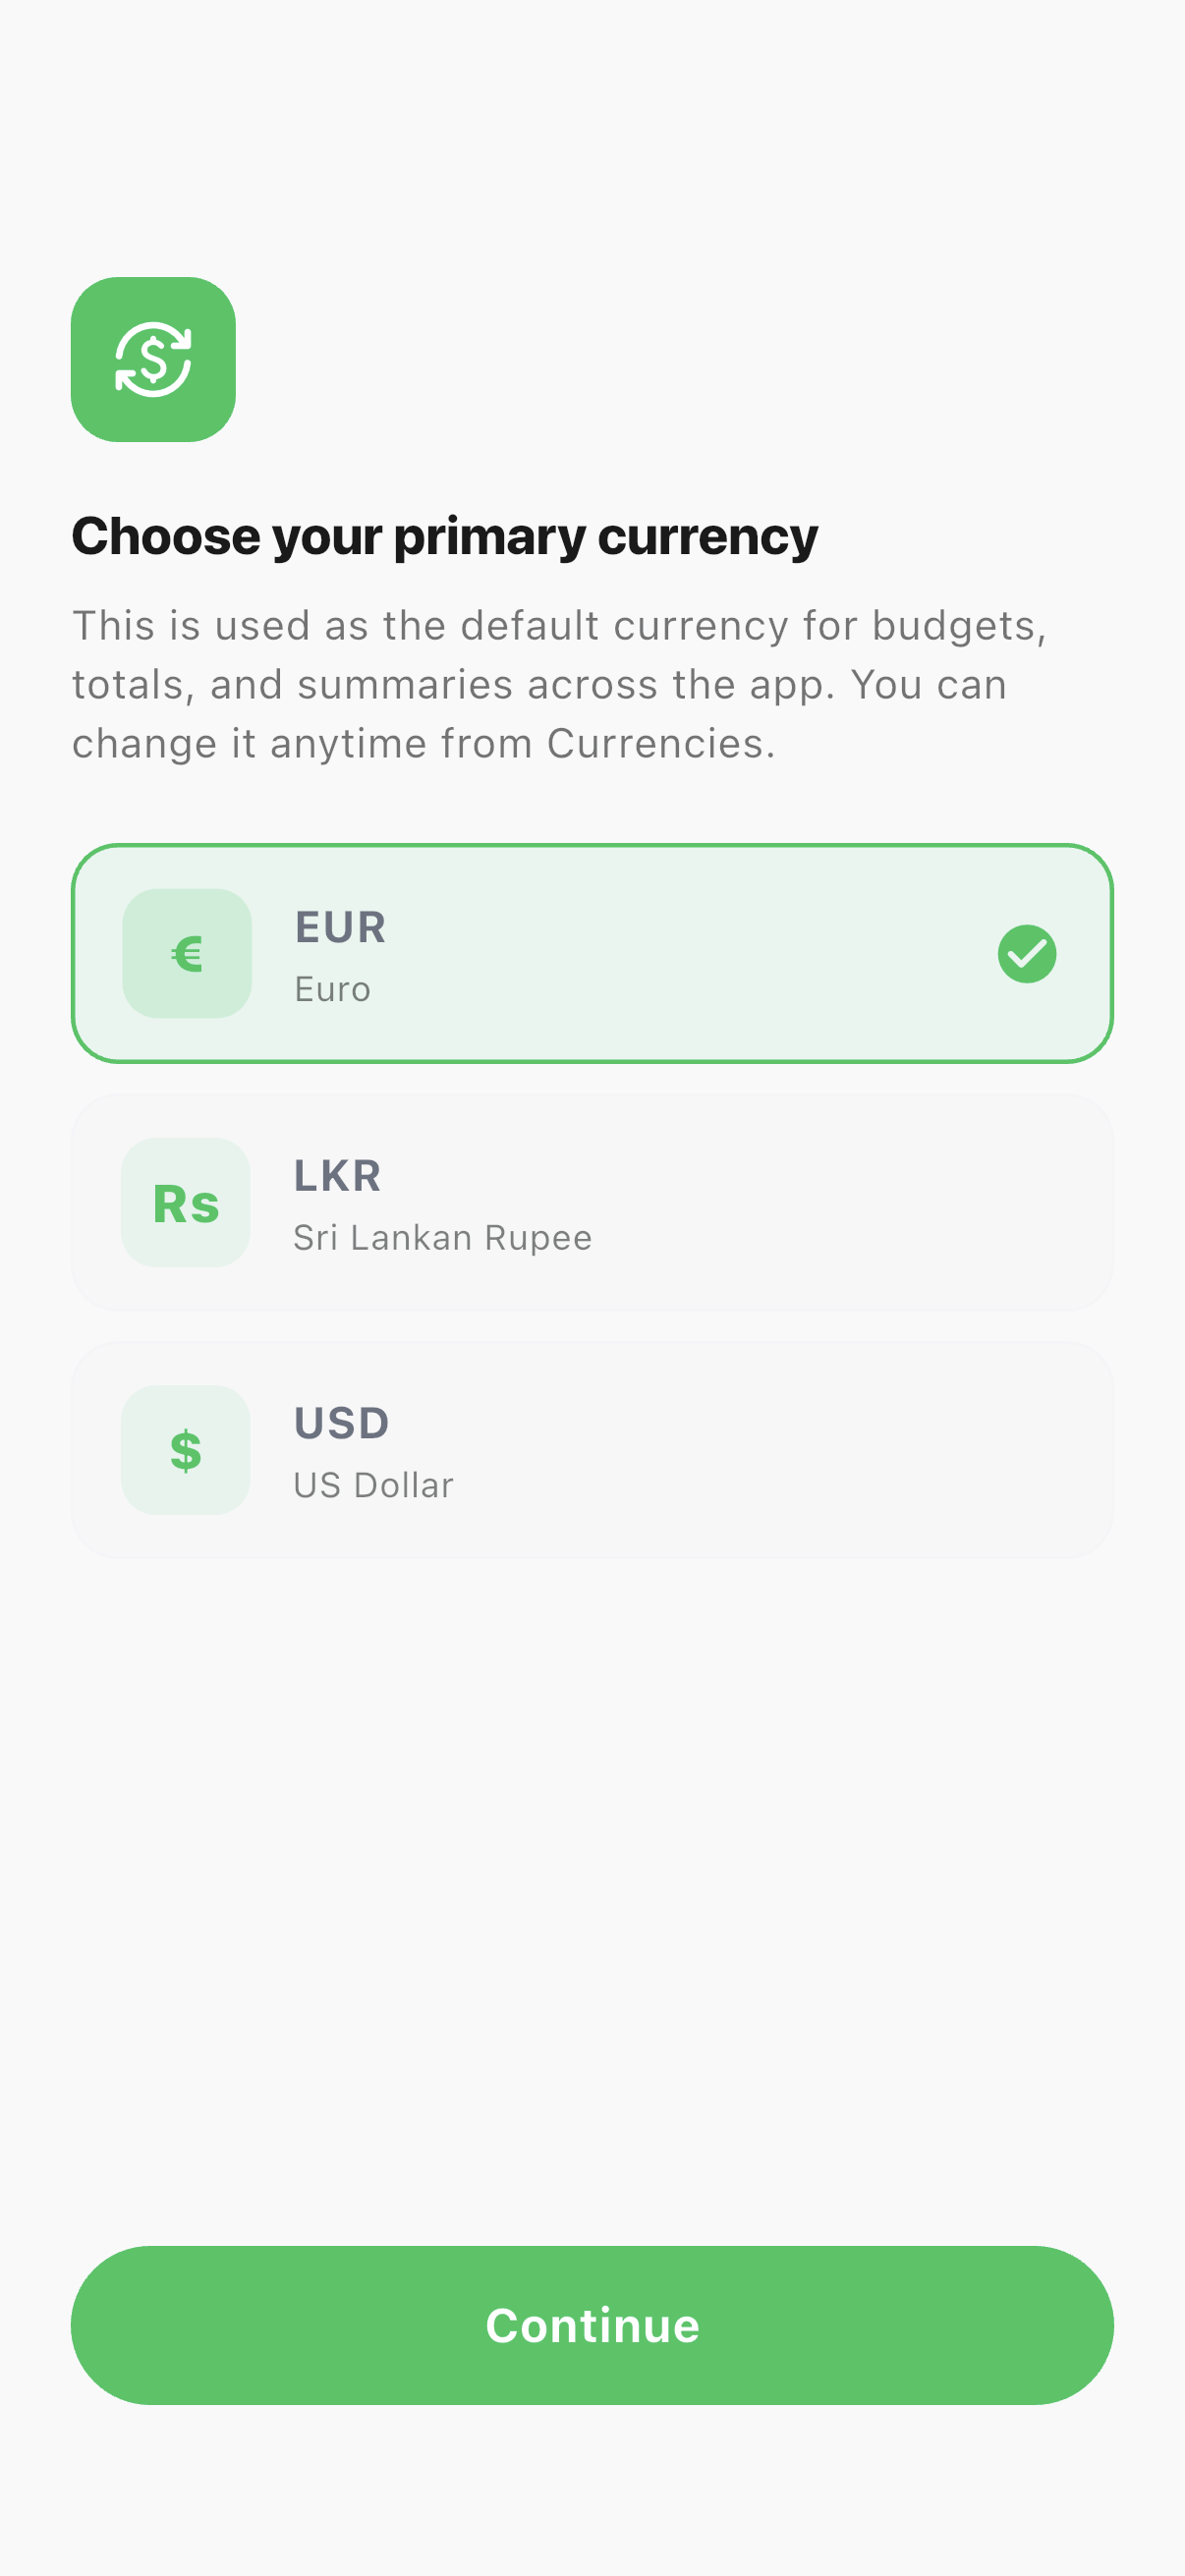
Pick a primary currency
This is the default currency used for budget totals and cross-account summaries across the app.
- 1Choose a currency from the list, or search for one, then tap "Continue".
Ready to try it yourself?
Spencio is free to download on iOS and Android — every feature in this guide is included.